Step 1
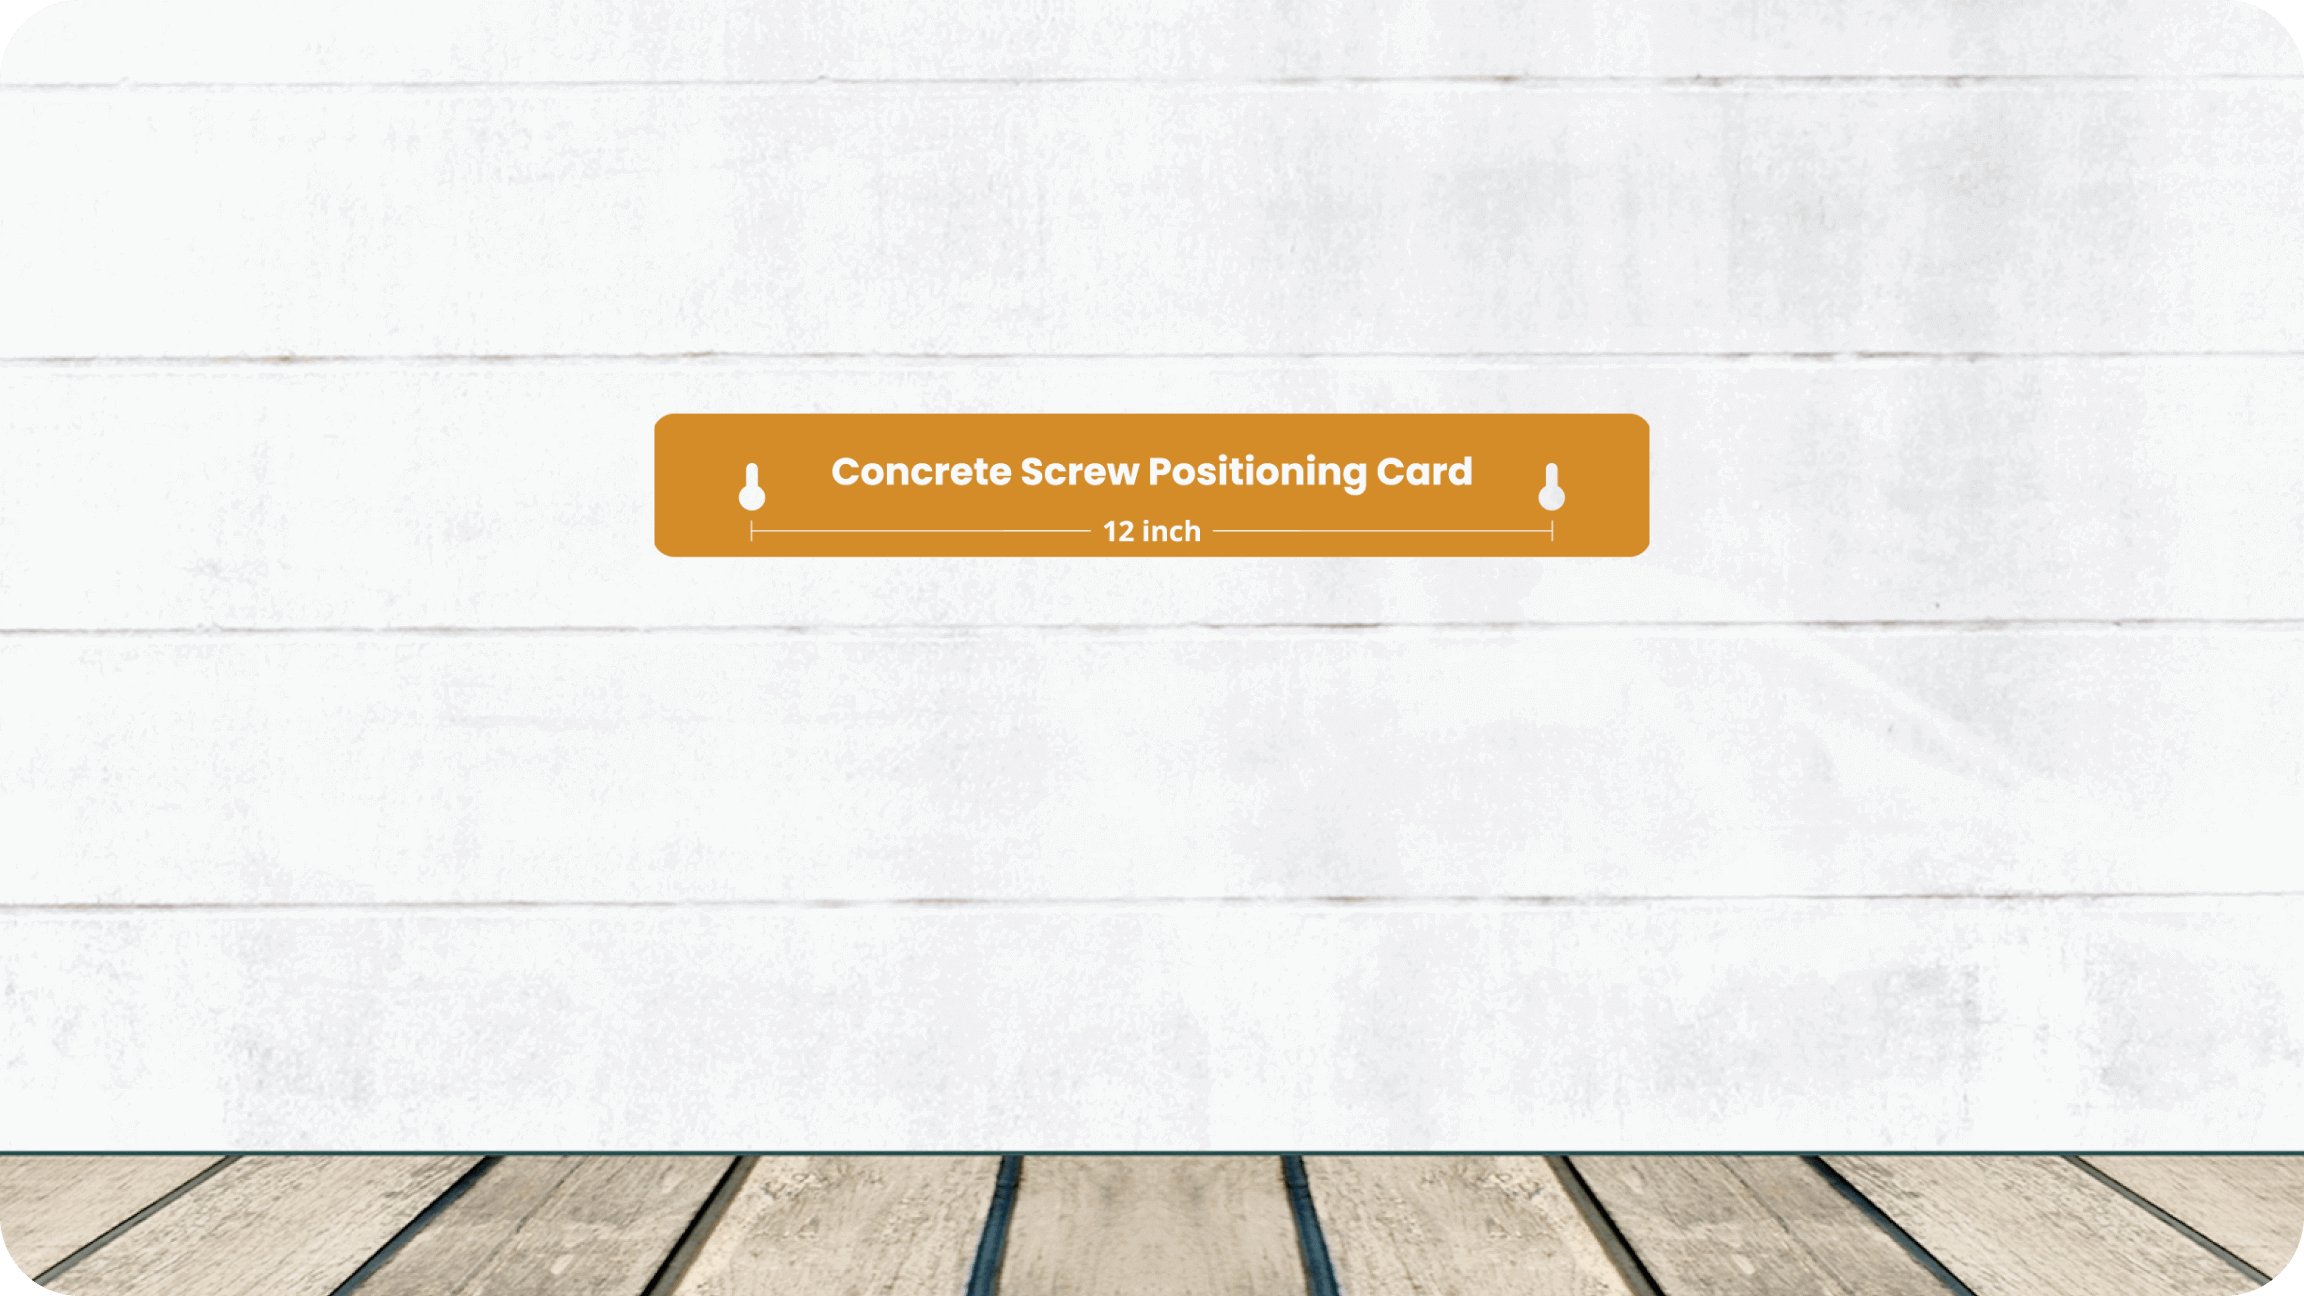
Use the concrete screw positioning card to mark areas for drilling holes on walls you have selected. When marking, ensure that the card is parallel with the ground.
Use the concrete screw positioning card to mark areas for drilling holes on walls you have selected. When marking, ensure that the card is parallel with the ground.
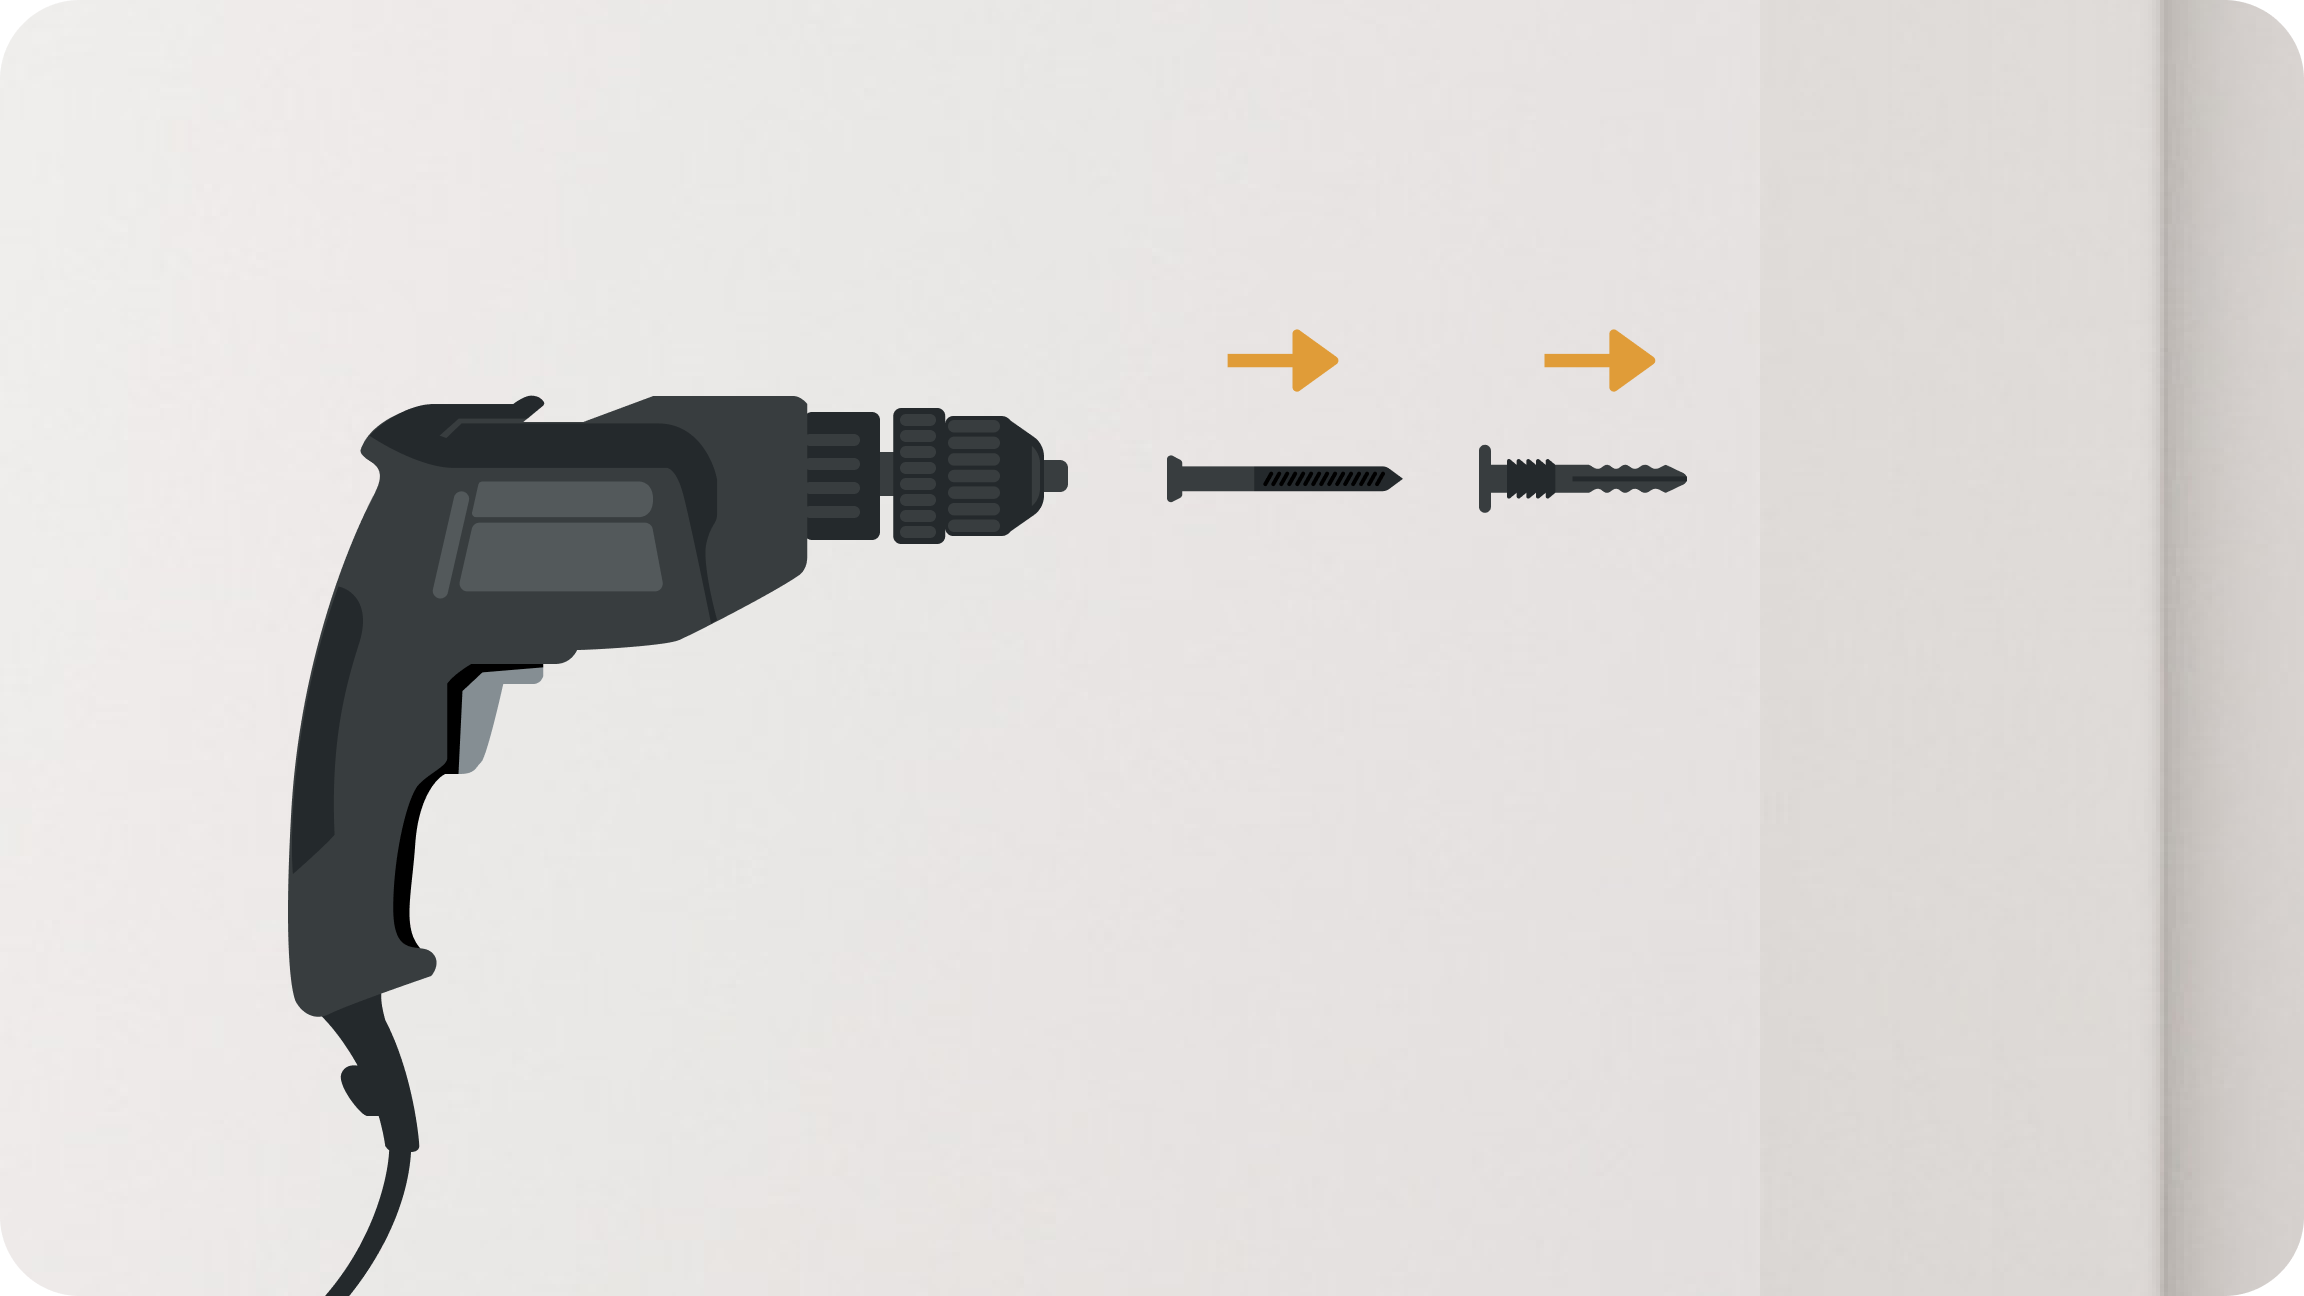
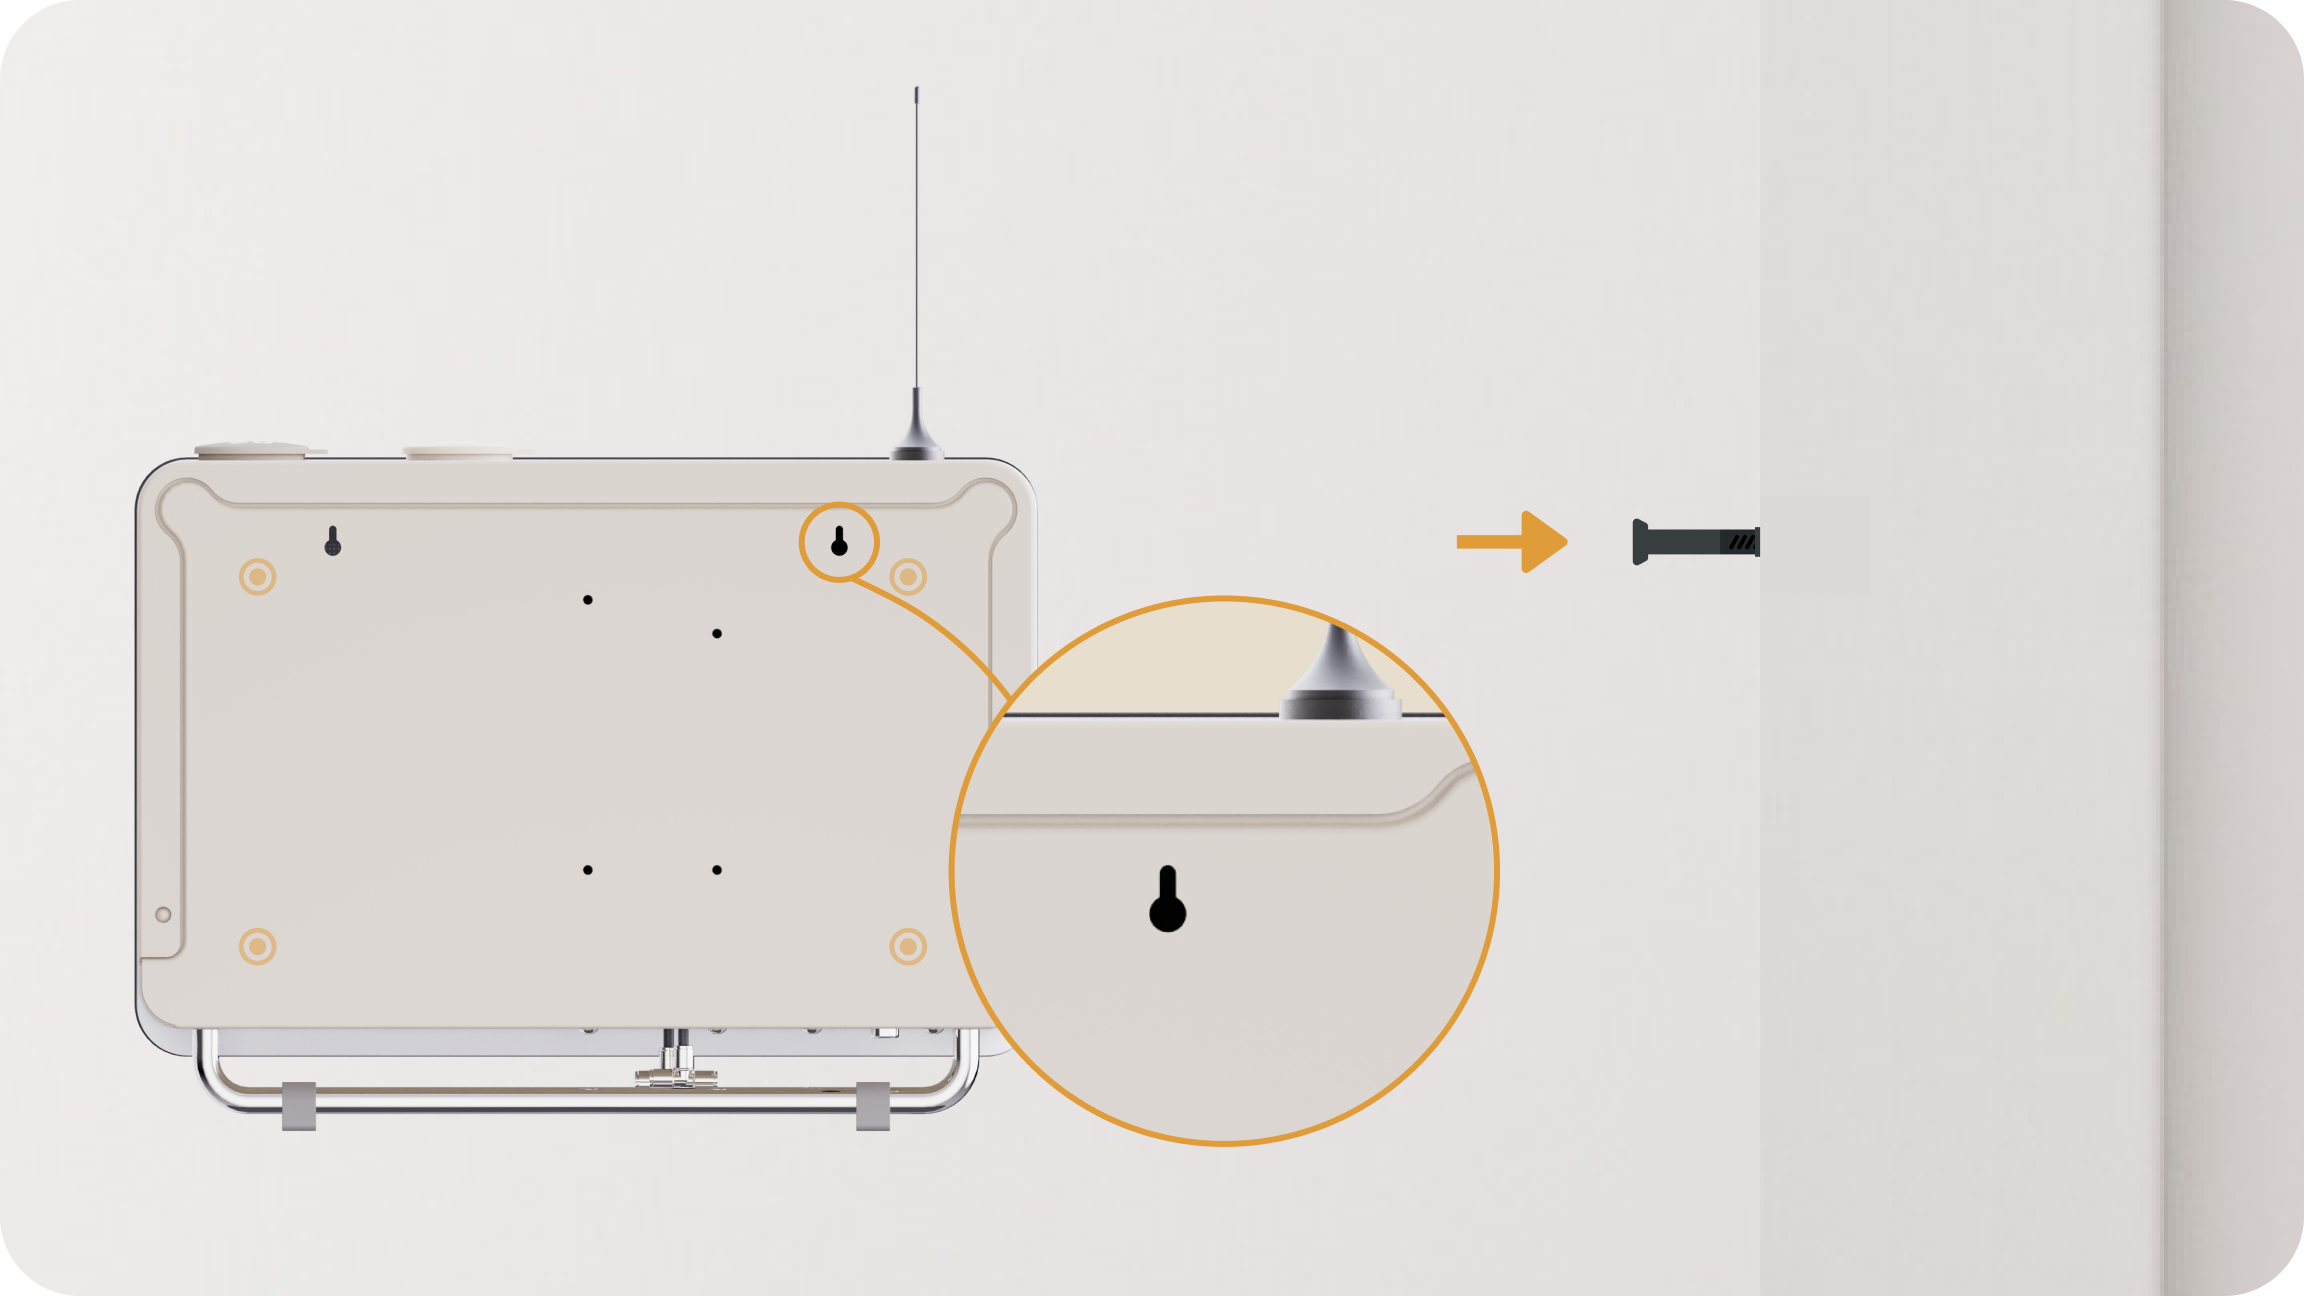
Drill into the marks you made on the wall, and insert the plastic anchor and concrete screw in succession.
To reduce shock and protect your walls, attach four silicone pads to the back panel of the device. Place two standard silicone pads side by side on top, and two thick silicone pads side by side on the bottom.
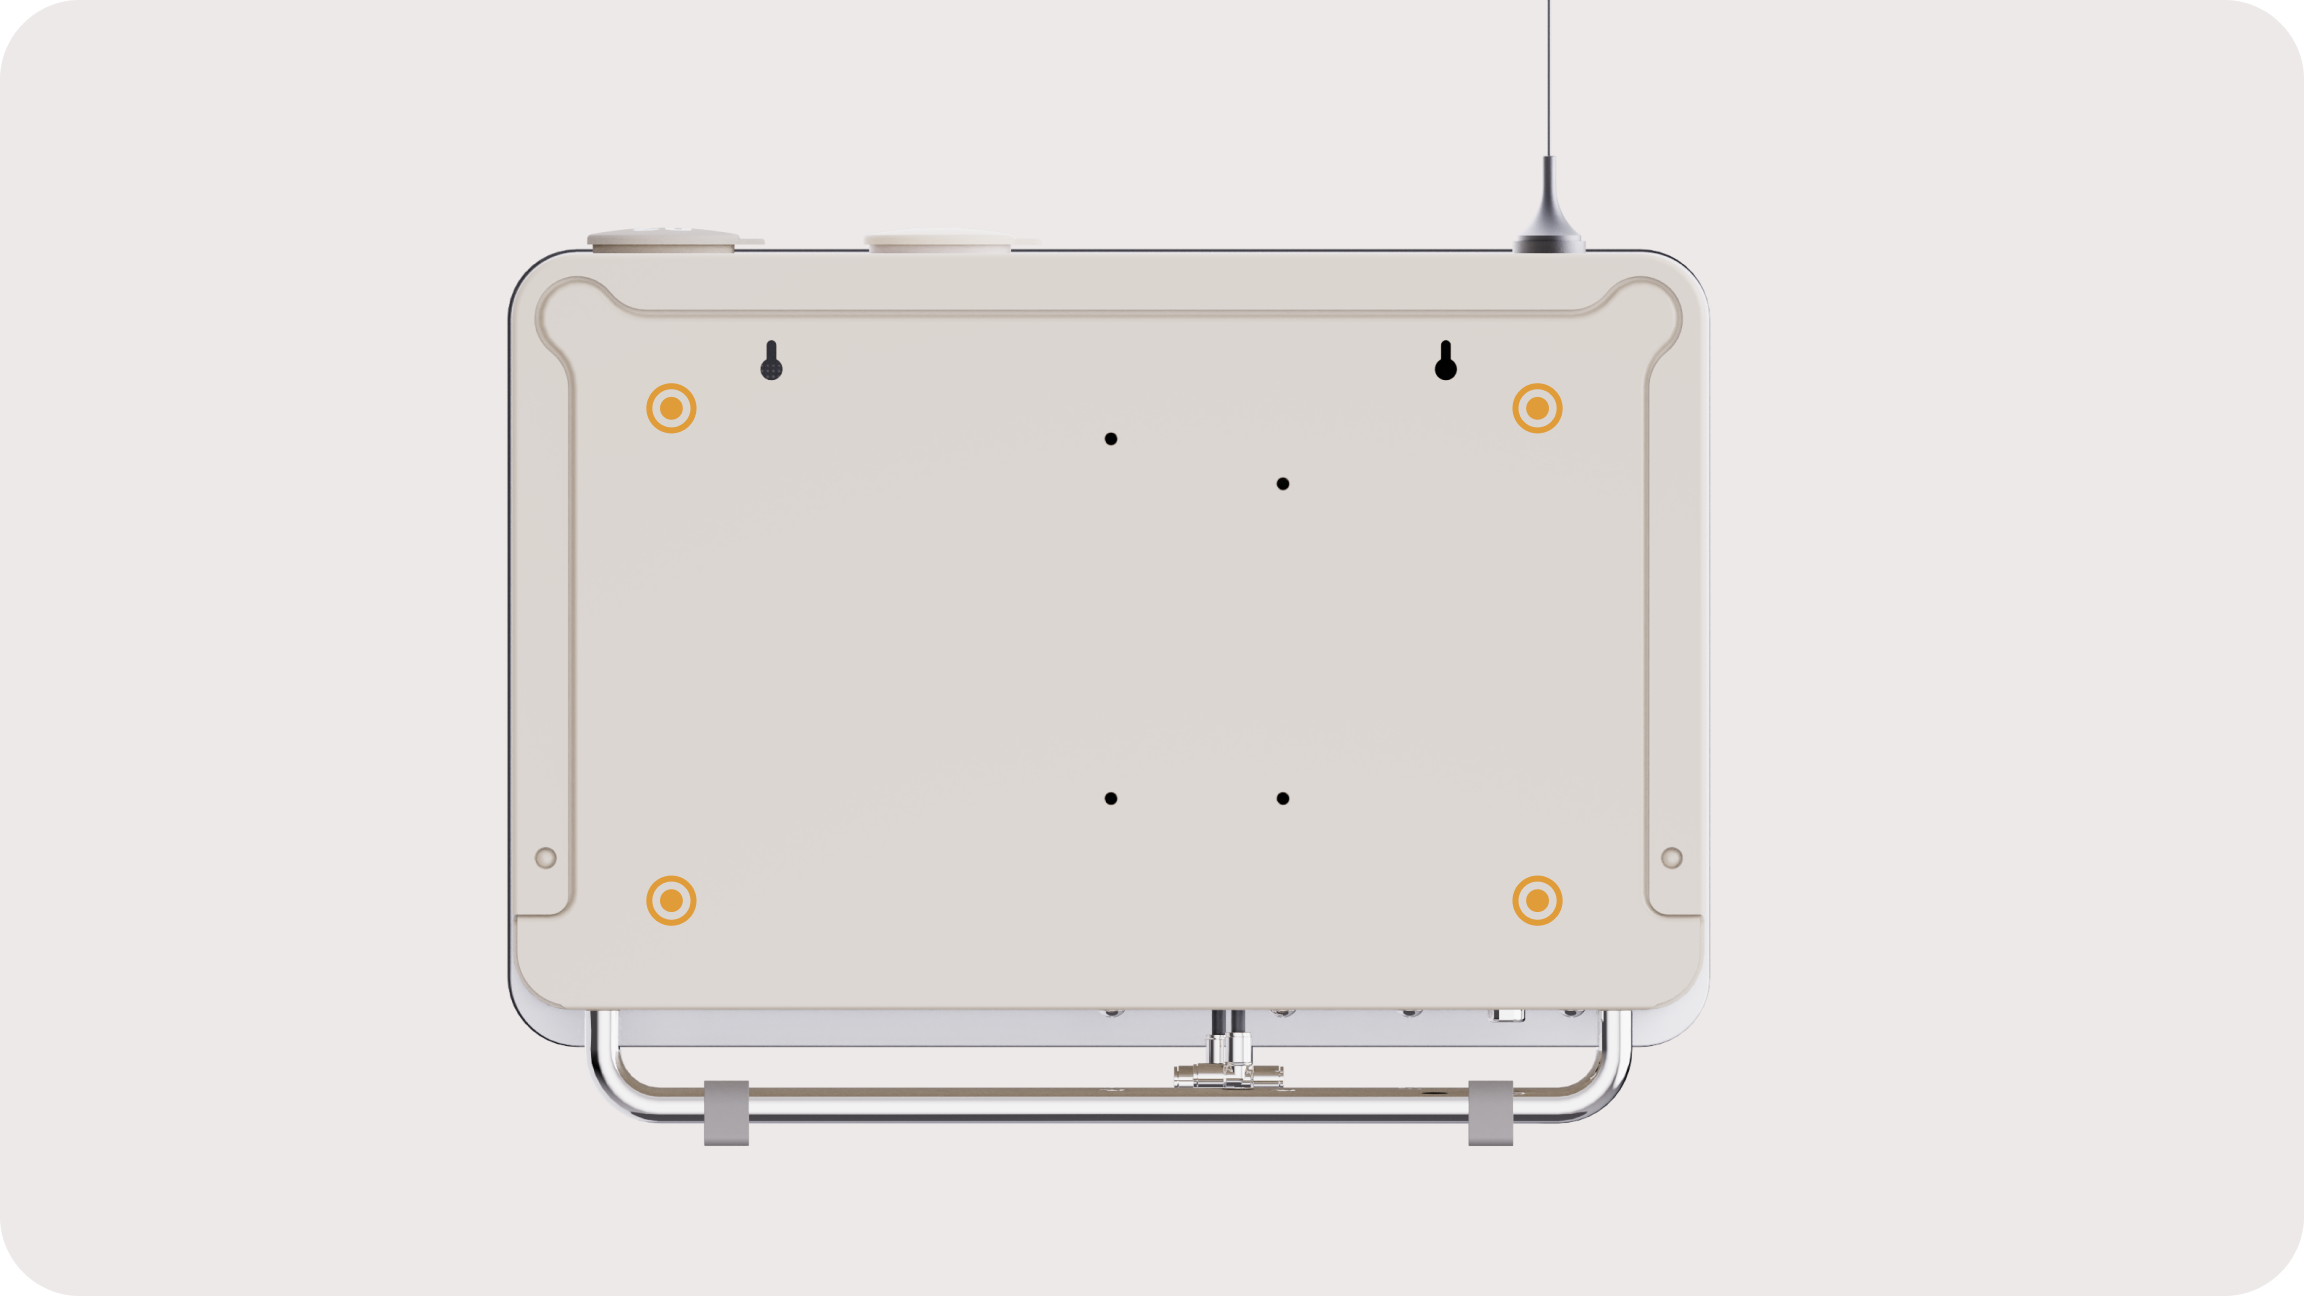
Align the holes on the back of the device with the nail and hang the device in an appropriate position on the wall.
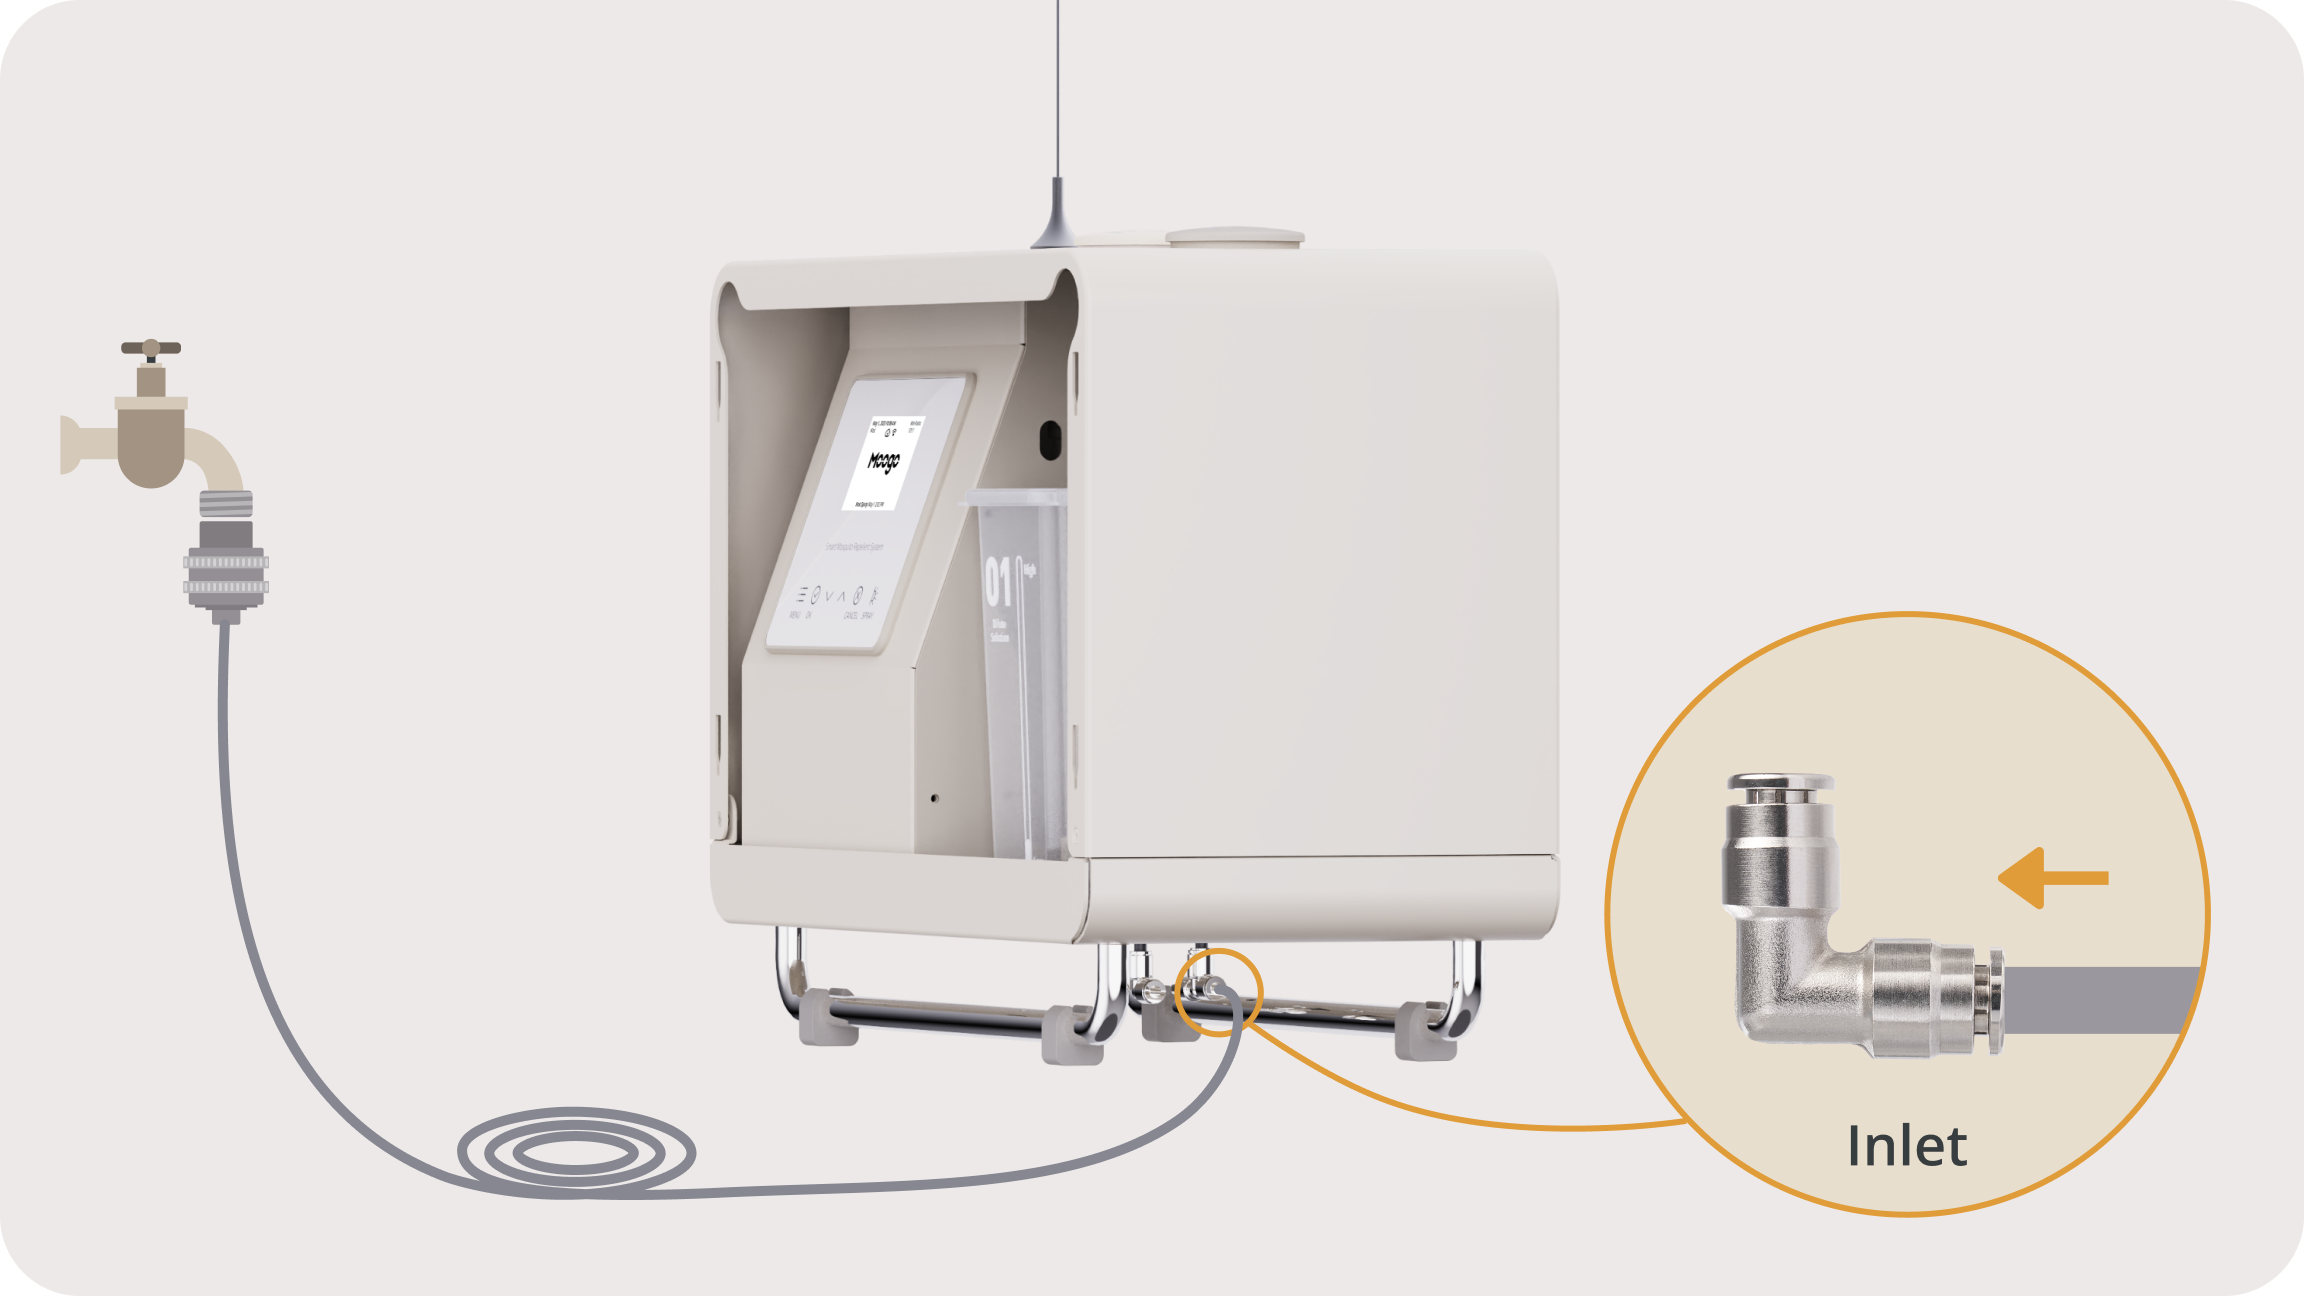
Connect the 3/4" hose bib adapter to the spigot, and connect the inlet pipe to the inlets of your device.
Note: Before connecting the inlet pipe to the inlets, open the spigot to release air from the water inlet pipe, before connecting it to the inlets of the device.
Connect the union tee outlet of the device to the misting nozzle at the water outlet’s end. Plug the other outlet of the union tee with a metal plug when it is not in use.
Note: Make sure you hear a clicking sound when the water tube is connected to the nozzle, union tee, straight-through, etc. Additionally, ensure that the tube is fixed and cannot be pulled out directly. This indicates that it is connected to the device successfully.

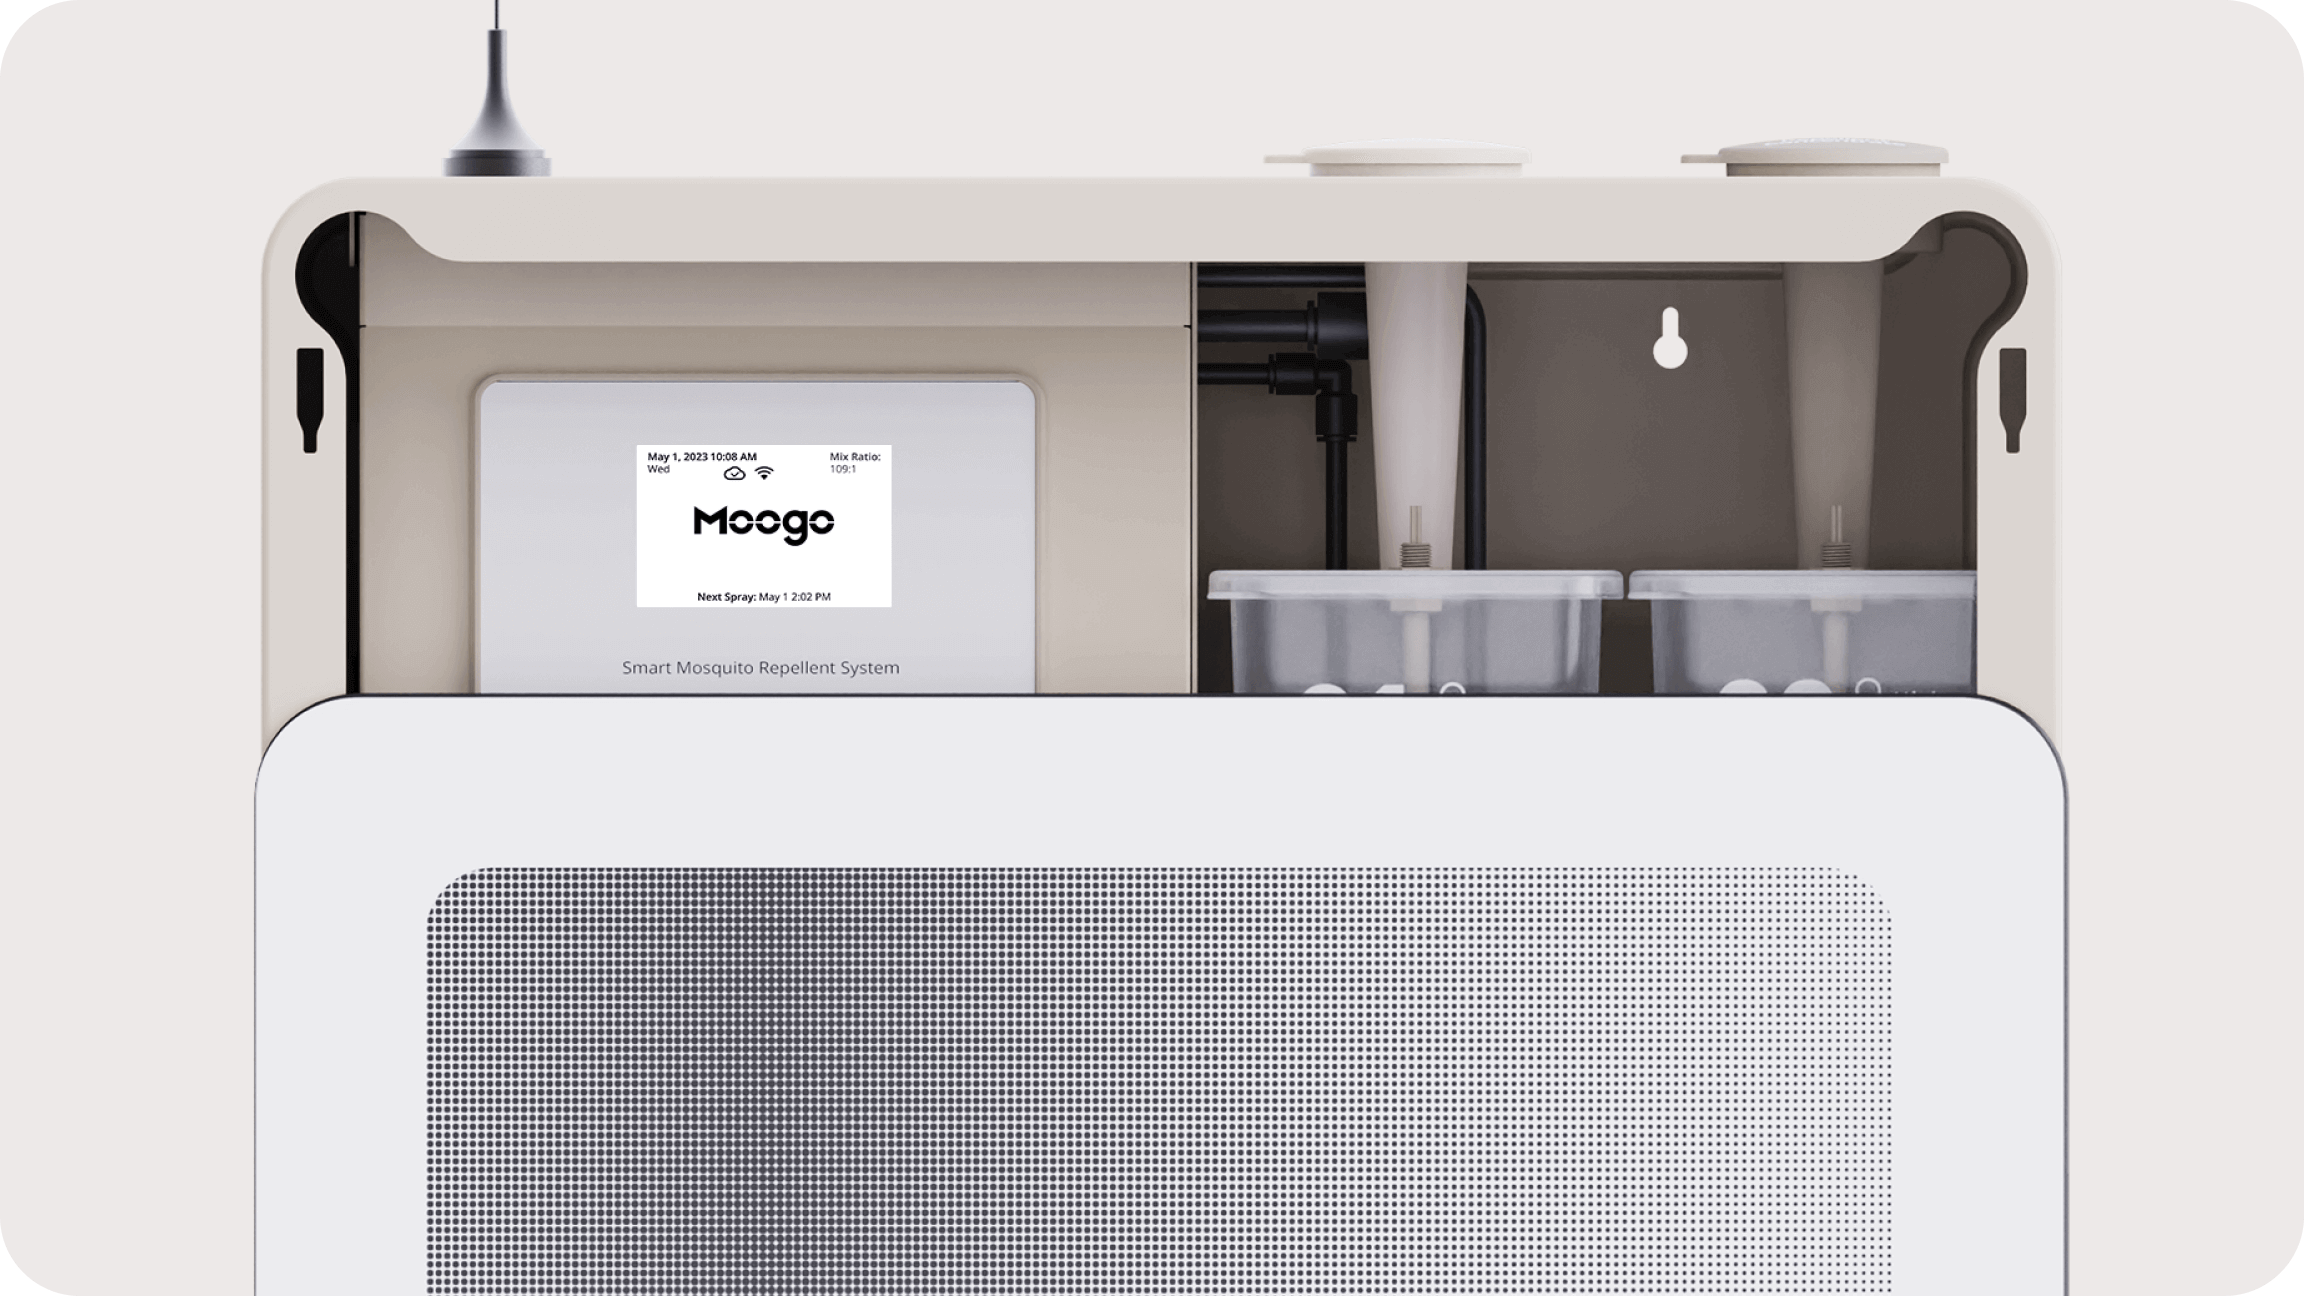
This device comes with both app and offline mode. After turning on power, you may operate the system via either mode. Once device setup is complete, ensure the glass panel is properly installed so as to keep the internal parts clean.